The Italian Bread That Doesn’t Need to Be Perfect — Homemade Ciabatta
Introduction
Ciabatta is one of Italy’s most beloved breads, known for its crispy crust, soft and airy interior, and rustic shape. First developed in the 1980s by Italian bakers aiming to compete with the popularity of the French baguette, “ciabatta” means “slipper” in Italian due to its flat, elongated shape. Unlike traditional sandwich loaves, ciabatta is characterized by its high hydration dough and irregular crumb.
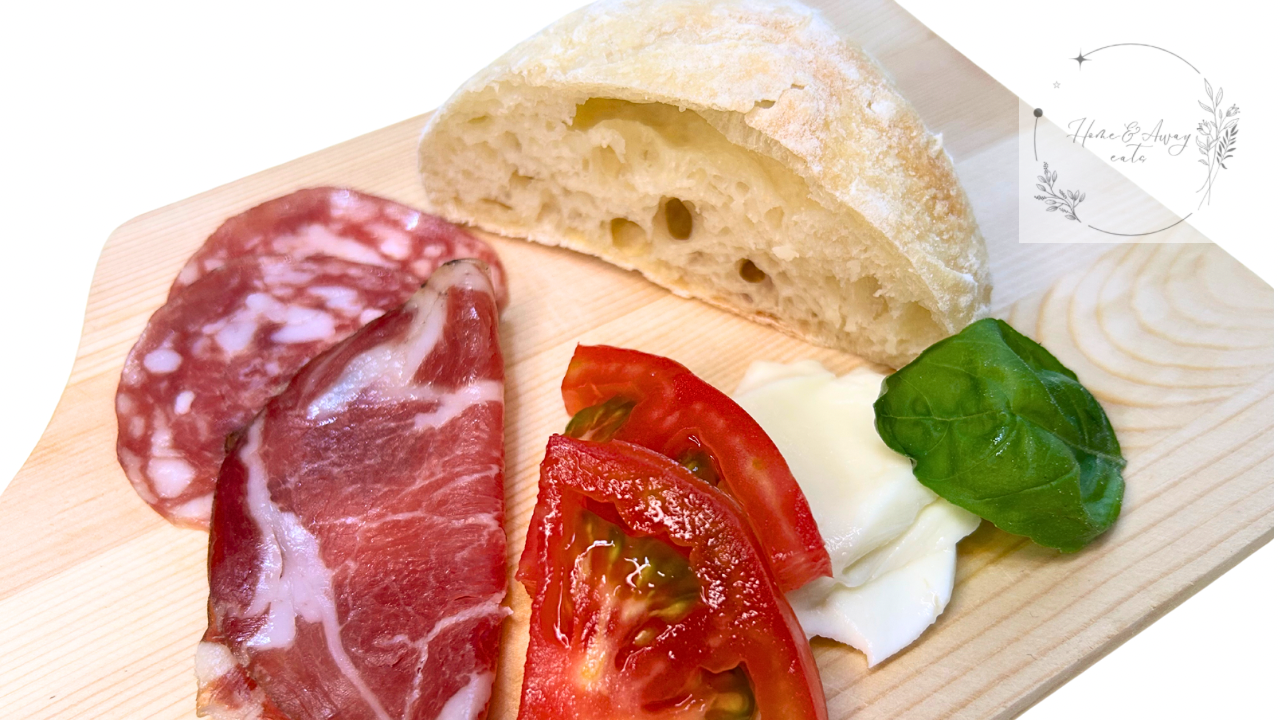
In this recipe, you’ll learn how to make real ciabatta from scratch using a simple cold fermentation method that boosts flavor and texture. You’ll also discover techniques like stretch-and-fold, final proofing, and tips to achieve a beautiful crust without needing a steam oven. I created this recipe to enjoy the perfect base for panini, but honestly, the bread itself is so good, it stands on its own.
Ingredients
- 3g instant dry yeast (about 1 tsp)
- 240g warm water (around 35°C)
- 300g all-purpose or bread flour
- 5g salt (about 1 tsp)
Instructions
Step 1: Activate the yeast by mixing it into the warm water and letting it sit for 2 minutes until slightly foamy.
Step 2: In a large bowl, combine flour and salt. Pour in the yeast water and mix until no dry flour remains. The dough will be sticky, and that’s what you want.
Step 3: Cover and let it rise at room temperature for 1 hour. Bubbles will begin to form.
Step 4: Perform 3 rounds of stretch-and-fold every 30 minutes. Wet your hands, lift one side of the dough, and fold it into the center from 4 sides. After the final fold, transfer to a container, cover, and refrigerate for 8 to 24 hours.
Step 5: Take the dough out and let it rest at room temperature for 30 minutes. Gently shape it into a rectangle on a floured surface. Cut into 5 or 6 portions and rest on parchment paper for 40 minutes so they rise a bit more. Bake at 220–230°C for 20 minutes until golden and hollow when tapped. Cool completely before serving.
Tips
- The dough will be wet and sticky, but that’s key to ciabatta’s open crumb.
- Avoid pressing or reshaping too much during shaping—just let it be.
- You can optionally place a tray of water in the oven while preheating to add steam. It helps with crust, but it’s not essential.
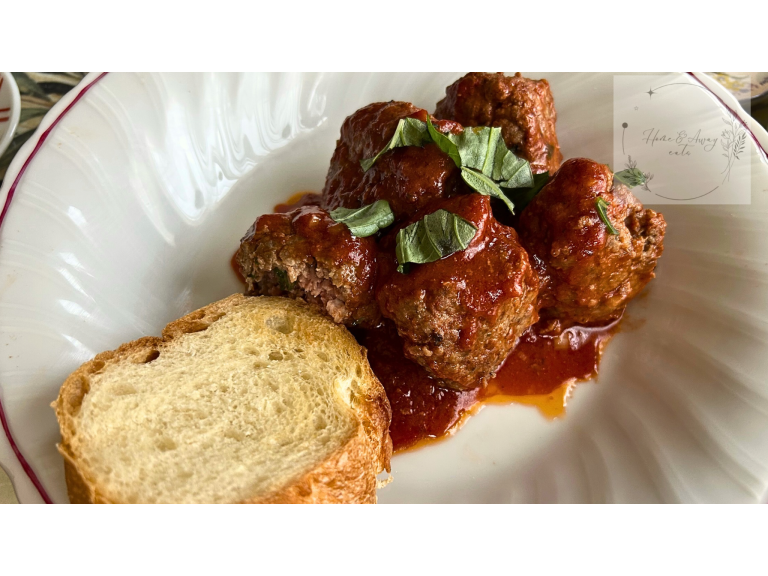
- Best enjoyed fresh or toasted for panini.
Watch the Full Recipe on YouTube!
For a step-by-step video tutorial, check out my YouTube channel:
Let me know if you tried this recipe! Don’t forget to like, comment, and subscribe for more delicious recipes.
Discover more from Home&Away Eats
Subscribe to get the latest posts sent to your email.